
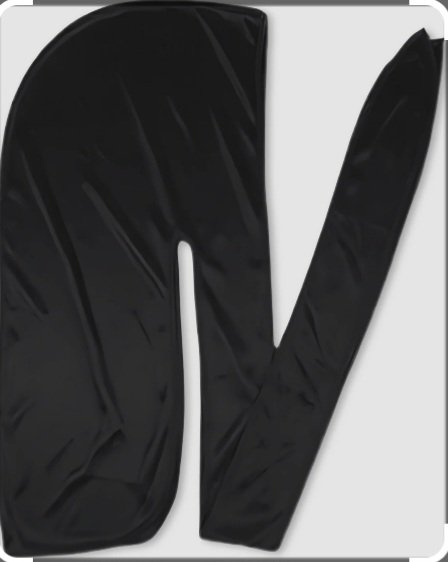
How to Tie a Durag for 360 Waves: The Standard Tie, Step by Step
Every wave pattern you have ever admired started with one unglamorous skill: a durag tied correctly. Compression is what trains your hair to lay in a pattern while you sleep, and compression only works when the tie is even, the seam is out, and the fabric is sitting flat with no wrinkles folded into it. This is the standard tie the wave community has used for decades — the same quick, clean method Nick Wavy (@nick_wavy) runs through in the video below. Learn this one tie properly and everything else in the Wave Lab builds on top of it.
Step 1–2: Set the seam and the front edge
Start with the durag inside out — yes, inside out. The seam that runs down the middle of the cape should face away from your head, because a seam pressed into your hair all night can leave a line and disturb the pattern you are building. Drape the durag over your head with the front edge sitting just above your eyebrows, roughly where a headband would sit, and let the cape fall down the back.
Pull the front edge down evenly on both sides with your fingertips. You want the edge level — if one side rides higher, the compression will be uneven and one side of your waves will always look weaker than the other. Take two seconds here; this small check is the difference between a tie that trains and a tie that just covers.
Step 3–4: Cross the tails and tie at the back
Take one tail in each hand and pull them straight back, keeping them flat against the sides of your head — never twisted into ropes. Cross the tails behind your head, then bring them forward and cross them once at the front, low on the forehead edge of the durag, not on bare skin. Then take them back again and tie a simple knot at the back of your head.
The knot belongs on the tails at the back, never at the front. A front knot presses a dent into your hairline and leaves a mark that takes a brush session to fix. Keep the tension firm but comfortable: the durag should feel like a steady hug, not a tourniquet. If you get a headache, it is too tight — loosen and retie.
Step 5: The flap, the check, and common mistakes
Finish by pulling the back flap down flat over the knot so the cape lies smooth, then run your palms over the whole head. You are feeling for wrinkles, bunched fabric, or a tail that has rolled into a cord. Any of those will print into your hair overnight. Smooth them out now and the tie is done — twenty seconds once it is muscle memory.
The three mistakes that ruin more ties than anything else: tying with the seam in, knotting at the front, and twisting the tails tight like rope. All three create lines, dents, or uneven pressure. If your waves ever look great on one side and lost on the other, check your tie before you blame your brush — nine times out of ten, the tie is the problem.
Watch: Durag Tutorial: How To Tie A Durag In 20 Seconds!
Video: “Durag Tutorial: How To Tie A Durag In 20 Seconds!” by Nick Wavy (@nick_wavy) · Watch on YouTube
Shop the gear
Everything in this guide runs on the right gear: a durag that holds compression without slipping, a cap that stays put, and fabric that treats your hair right. The durag.store launch lineup is built to that standard — dual-layer construction, long tails, and stitching made to survive the routine. Join the launch list and use code GOLDSTANDARD for 15% off your first order.
Keep learning
- The No-Knot Durag Method: Full Compression, Zero Forehead Lines — Intermediate · Tying & Basics
- Your First Durag Tie: A Beginner's Walkthrough With Zero Guesswork — Basic · Tying & Basics
- How to Wear a Durag All Day Without It Slipping, Sliding or Looking Sloppy — Basic · Tying & Basics
Sources: Video — “Durag Tutorial: How To Tie A Durag In 20 Seconds!” by Nick Wavy (@nick_wavy), youtube.com. Guide written by the durag.store Wave Lab.