
Photo-Shoot Wave Prep: Making Waves Read on Camera
Every waver knows the betrayal: the mirror shows depth, shine and connection — then the photo comes back flat, as if the pattern took the day off. Waves are a three-dimensional texture, and cameras flatten three dimensions into two. Ocean View Brand (@Oceanviewbrand) breaks down the common on-camera mistakes in the video below; this guide gives you the full photo-day system — the 24 hours before, the light, and the angles that let the camera see what the mirror sees.
Prep: the 24 hours before the shoot
Photograph waves at their trained peak, not their freshest. The best photo window is one to two days after a wash-and-style: the pattern is fully set, the hair has its natural sheen back, and there is no wash-day frizz left. A full brush session the night before, double compression overnight, and a short soft-brush polish the morning of — that sequence puts depth at its maximum when the shutter fires.
Product discipline matters more on camera than in life. Heavy grease photographs as glare spots; flyaways that the eye forgives become the first thing a lens finds. Use less product than usual, work it fully in, and finish with a stocking cap or wave cap pass to lay every stray hair the camera would otherwise catch.
Light: the whole game
Waves read through shadow. The ridges of your pattern catch light and the valleys fall dark — that contrast IS the wave in a photograph. Flat, head-on light from a bathroom ceiling erases the valleys and the pattern with them. You want light raking across the head from the side: a window to your left or right, a lamp at a low angle, or outdoor shade near a bright opening.
Golden hour outdoors is the waver's studio. The low sun rakes across the pattern and carves every ridge. Midday overhead sun does the opposite. If you must shoot indoors, turn side-on to the brightest window and let the pattern's own geometry do the editing.
Angles and capture discipline
Shoot the crown from above and behind — it is the pattern's signature and the angle strangers judge by. Take the standard set every time: front, both sides, back, and the crown shot, at the same distance, so progress photos stay comparable month to month. Video reveals truth that stills hide; a slow turn under raking light is the most honest wave check you can post.
Finally, review at full size, not as a thumbnail. Thumbnails flatter everything. Zoom in, check the weak side and the crown, and reshoot the failures immediately while the light is still there. Photo day is a skill like any other in this culture — the wavers whose pictures stop thumbs are running a system, not catching luck.
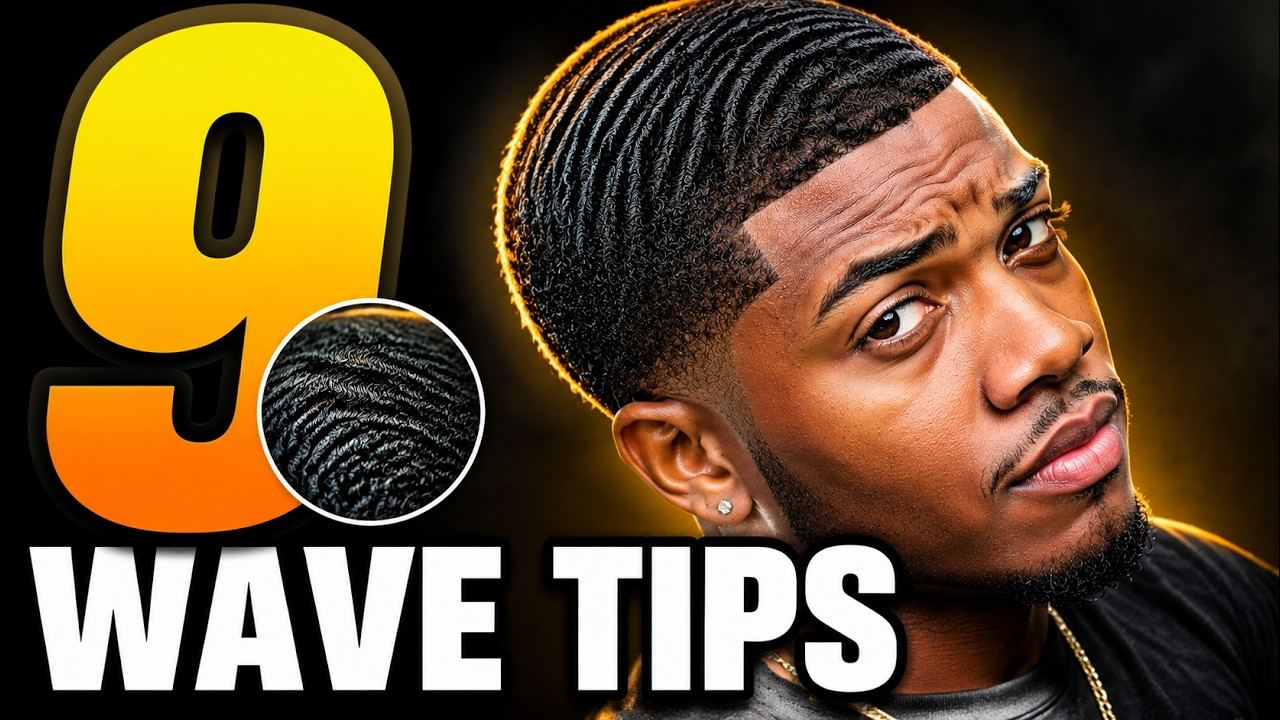
Watch: Ocean View Brand on what wave creators get wrong on camera — and the fixes that make waves read on screen
Video: “Most 360 Wave Creators Get This Wrong | Here's What Actually Works! 9 Wave Tips!” by Ocean View Brand (@Oceanviewbrand) · Watch on YouTube
Shop the gear
Everything in this guide runs on the right gear: a durag that holds compression without slipping, a cap that stays put, and fabric that treats your hair right. The durag.store launch lineup is built to that standard — dual-layer construction, long tails, and stitching made to survive the routine. Join the launch list and use code GOLDSTANDARD for 15% off your first order.
Keep learning
- Styling a Durag With Outfits: Colour, Fabric and Occasion — Intermediate · Styling & Culture
- Choosing Durag Colours: What Works With Your Skin, Hair and Wardrobe — Basic · Styling & Culture
- Custom Print Durags: Designing, Printing, and What to Check Before You Buy — Intermediate · Styling & Culture
Sources: Video — “Most 360 Wave Creators Get This Wrong | Here's What Actually Works! 9 Wave Tips!” by Ocean View Brand (@Oceanviewbrand), youtube.com. Guide written by the durag.store Wave Lab.